Guidelines for Importing HANA Schema
This WEVY NOTE aims to provide general guidelines on how to import a HANA schema into the RUN Platform. To perform this process, it is necessary to follow the proper configuration steps and have privileged access to the platform.
1. Definition
Before starting the import process, some initial steps need to be followed to ensure the configuration is correct and the files are sent efficiently.
2. Privileged Access
To start, you must access the platform environment with privileged access. This ensures you have the necessary permissions to perform actions on the system.
- Consult documentation: To access the environment, use the documentation that provides the procedure for this step:
Click here ➡️ Access Environment
3. Connect to the Configuration Machine
The next step is to connect to the configuration machine; for this, use the documentation below.
- Consult documentation:
Click here ➡️ Image Management
4. File Upload
There are two methods to send files to the server:
4.1 Upload via Drive Link
- Using a link that can be placed in the server’s browser, it is possible to send files to the server, such as databases, add-on installers, etc.
4.2 Direct File Upload
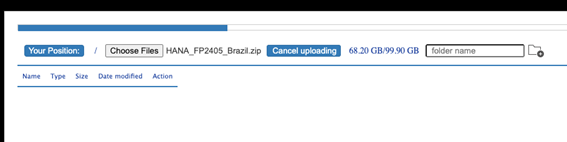
With privileged access, it is possible to securely upload files directly to the server via the session protocol, as follows:
- Click on Choose Files.

- Select the desired file; in this case, we will upload a HANA FP2405 database.

- Demonstration below:
-
The file will be sent to a temporary area (deleted on logoff).
-
To keep it, move it to the
tmpfolder or another folder of your choice. -
After finishing, the file will remain in a temporary area, meaning it will be automatically deleted upon logging off from the environment.
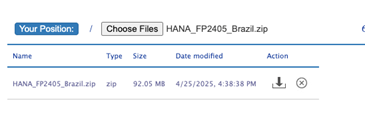
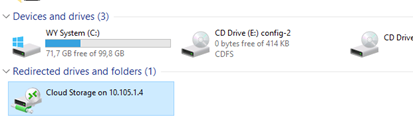
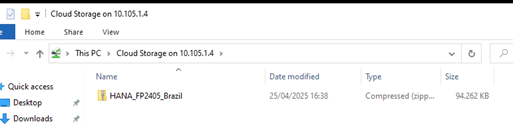
- If you want the file to be kept, move it to other folders such as
tmpand/or another.
Once the file is kept, if a Blue/Green Deployment is performed, the files will also be replicated to the application layer of the respective environment.
5. Upload File to HANA
5.1. Access the default path from the template machine using explorer:
\\wy-db-hana
- The folder to be used should always be
SHARED_SAP.
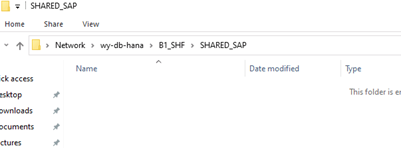
- Copy the desired file to the folder mentioned above.
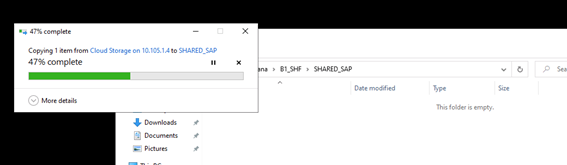
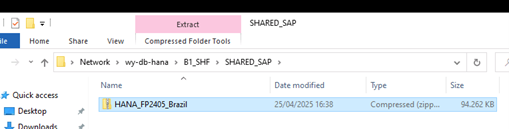
- After copying the file, return to privileged access to enter the database machine.
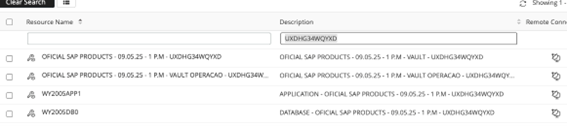
- Once authenticated on the database machine, go to the
SHAREDfolder.


- Perform the process of decompressing the file (zip and/or tar), and apply the necessary permissions.
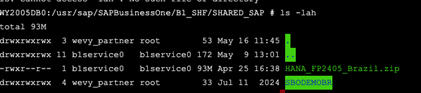
- Once the file is decompressed, copy the path.

It is possible to copy the path from the database machine to the configuration machine.
- Once the path is copied, open HANA Studio and perform the import of the database(s).
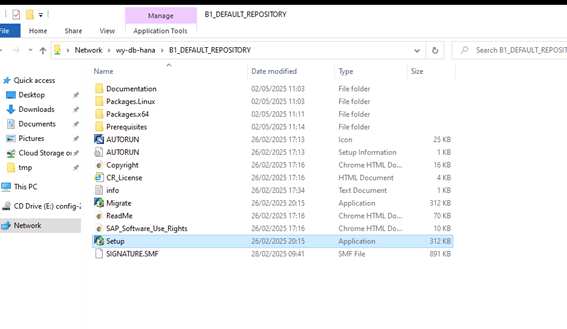
- If you need to upgrade the database, i.e., if this database is in a lower version than the environment, it is possible to access the installation package used during the setup process at the path below.